Pages

Oh, Hello Friend

Wednesday, April 10, 2013

Oh, Hello Friend

On a trip to Los Angeles a few weeks ago I had the chance to stop by the new storefront for Oh, Hello Friend. I have been a huge fan of her blog for a few years now, and her online store is one of my go-to spots, so as soon as I heard she was opening a retail location I knew I had to check it out. As it turns out, the shop was only ten minutes away from where I was staying! An opportunity that couldn't be passed up.

As expected, the shop is everything charming and inviting. Beautiful vignettes line the shelves featuring beautiful pieces from her own line as well as a selection of curated items from other artists and craftsmen. Gorgeous. The difficult part was narrowing it down!
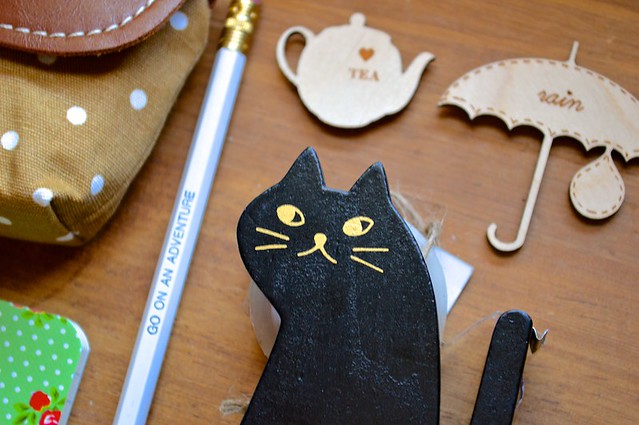
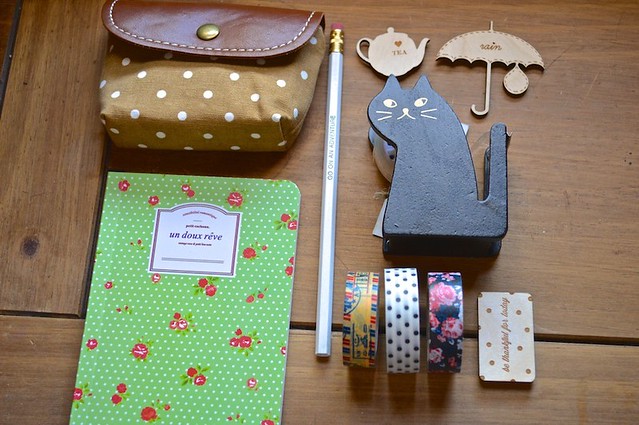
Kitty Tape Dispenser

As I look back at my purchases, I see a theme emerging. Office supplies! I'm trying to make my cubicle feel more like home so I've been working on collecting more natural materials to contrast the metal/plastic I've currently got going on. This translated nicely to pretty wooden magnets and a charming cat tape dispenser (that I've actually been eyeing online for ages). I am kind of smitten with that pencil too.
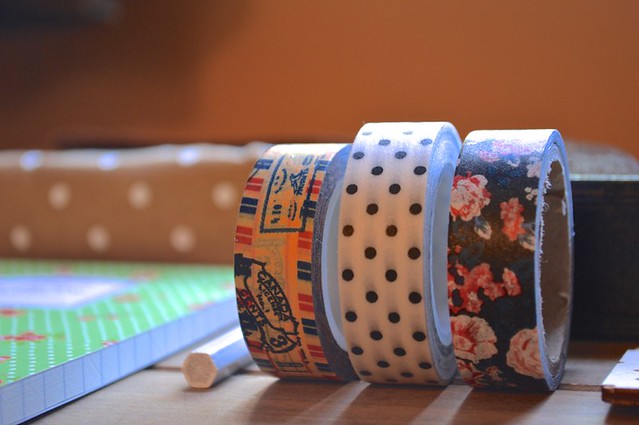
New Washi Tape

One thing I don't think I could have left the store without was some new washi tape. The shop boasts a whimsical collection of prints and a deal for purchasing three. You know I couldn't resist those polka dots.

In the Los Angeles/Fullerton area? Check it out! From housewares to stationary to a beautiful selection of jewelry, Oh, Hello Friend has something for everyone. An aptly named shop, you couldn't ask for a friendlier atmosphere. Danni and her husband have created a wonderful space, definitely one of the highlights of my trip.
Investing in Ideas

Thursday, April 4, 2013

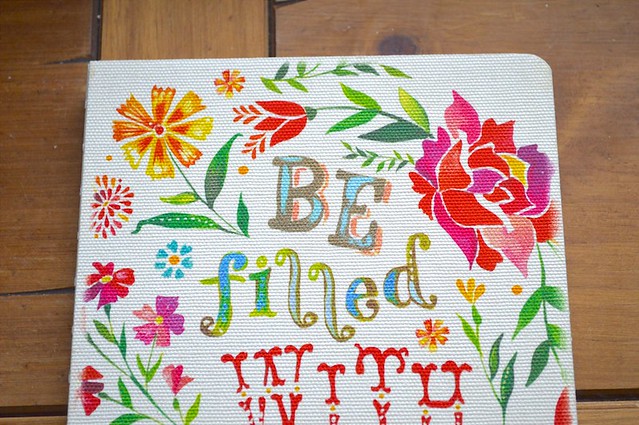
Be Filled with Joy Notebook

The clouds have gathered overhead and all is quiet aside from the steady thrum of the dryer. It's the perfect moment to be captivated by new ideas. I have the bad habit of allowing ideas to swirl around in my mind without ever putting pen to paper. They end up drowned out in the sea of day-to-day life and the seemingly urgent things that clamor for my more immediate attention. A frustrating cycle that can be broken with the simplicity of intention.

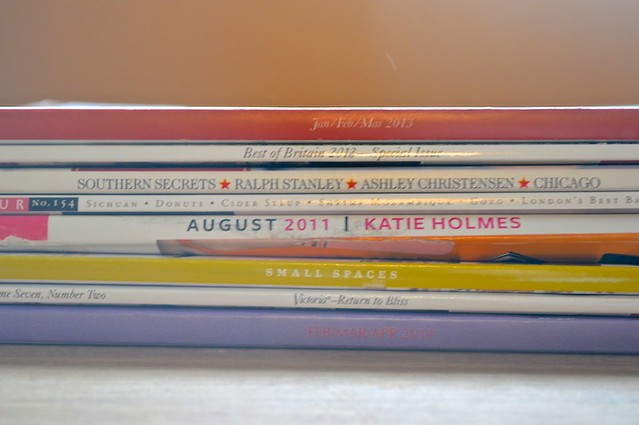
I recently pre-ordered Jon Acuff's new book Start. With the pre-order comes a host of extras including the e-book The Three Stages of Every Awesome Idea. Step one? Imagine. Jon talks about the importance of making small investments in big ideas. That got me thinking, what sparks my imagination? What are the activities and where are the spaces that generate the most ideas in my life? For me one of those things is reading a magazine. I have a list of my go-tos, but I've been letting them gather dust. Not today! Instead I have a stack of recently purchased volumes and a notebook.

A Stack of Magazines

It really shouldn't be amazing to me how inspiration has already started flowing, and yet I'm surprised that such a simple task can make such an immediate impact. An article about sea side bed and breakfasts in Wales led to a new storage idea for my bedroom. I have a stack of ideas that need a little more research and even a few new additions for my life list. If one thing has been made clear in this exercise it's that I need to invest more of my time into "thinking time" and being intentional about taking quiet moments to rekindle my imagination.

What sparks your imagination? Do you have a favorite space or activity set aside for investing in new ideas?

Monogrammed Glasses DIY

Wednesday, April 3, 2013

I have a special treat for you today! The lovely and inspiring Margeaux from A Snapshot of Today has a DIY to share with us. I've been wanting to give glass etching a shot and I think this project may just be the one to get me to give it a go.

I am so happy to be posting over here at Baubles & Bites. Erica is a huge blessing and a wonderful bloggity blog friend.

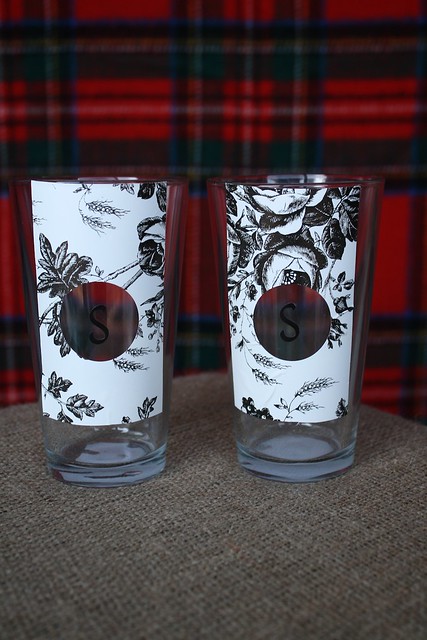
I made this simple (but super classy!) DIY project in 15 minutes when I got home from work tonight. It was a blast. I knew I couldn’t make any for Jordan. He has a lot already and mine just wouldn’t be cool enough since he collects them when we go to breweries. Hehe. I made some for my co-workers instead, though, and they turned out lovely.

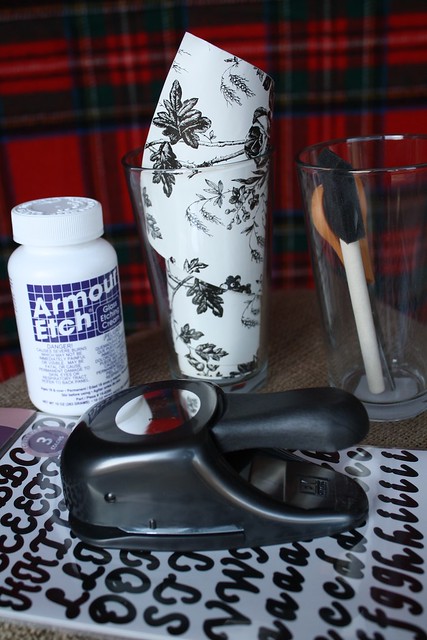
I gathered my supplies:
Etching Cream
Foam Brush
2 Pint Glasses
Contact Paper
Alphabet Stickers
1.5’’ Hole Punch

001

I used the lines on the back of the contact paper to line up the circles I punched out. Then I lined it up on the top of the glass so the circles were in the same place on both of the glasses.

002

I put the stickers in the middle of the circles, making sure everything was completely stuck down. I didn’t want there to be places where the cream could creep under the contact paper.

003

Then I put a thick layer of the cream over the entire area. I followed these rules on ABM for safely using the cream.

004

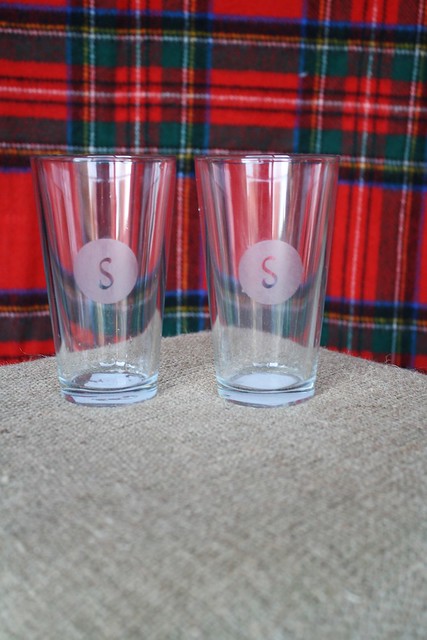
I let the cream sit for 3 minutes. I think I might let it it sit longer next time to see if I can get it even “etchier.” I ran them under warm water and washed all the cream off before I peeled the contact paper and the sticker off. Once they air dried on the counter they were ready to rock and roll.

005

I am so happy with how these turned out. Since the only item I had to actually pick up was the pint glasses, this project cost me $2.12. I think that’s a pretty great deal.

Have a lovely day, readers! Craft on!

Trail Mix Bar

Monday, April 1, 2013

Trail Mix Bar

Spring is here! At least technically. And what more perfect time to throw a party? I have been long smitten with the candy and dessert bars that have been cropping up on blogs and Pinterest for the past few years, but for this kid's Easter event we wanted to take a more savory twist. The conclusion? A trail mix bar.

Trail Mix Ingredients

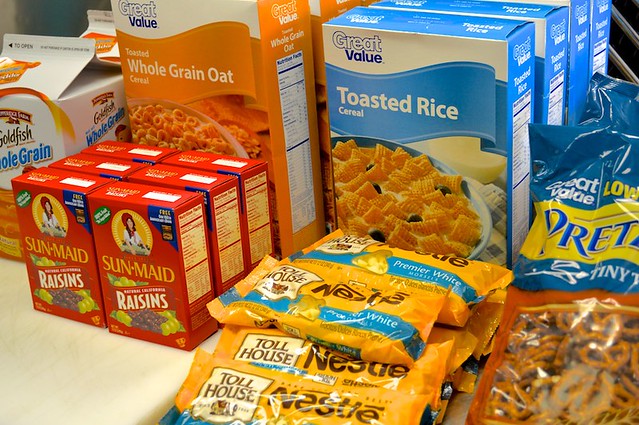
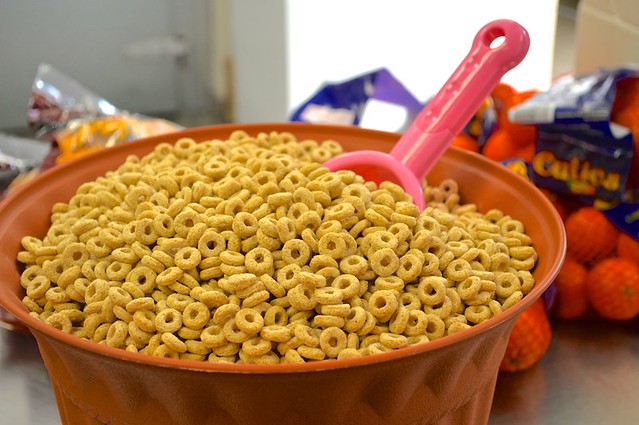
Let's talk ingredients. In hosting over 100 people bulk shopping was the way to go, but this part is fully customizable to your preferences. We went with cheerios, rice chex, mini-pretzels, white chocolate chips, goldfish, and raisins in order to include some gluten and dairy free options. Other add ins could include M&M's, crushed oreos, gummy worms, nuts, granola, or fruit loops. Anything small and bite sized.

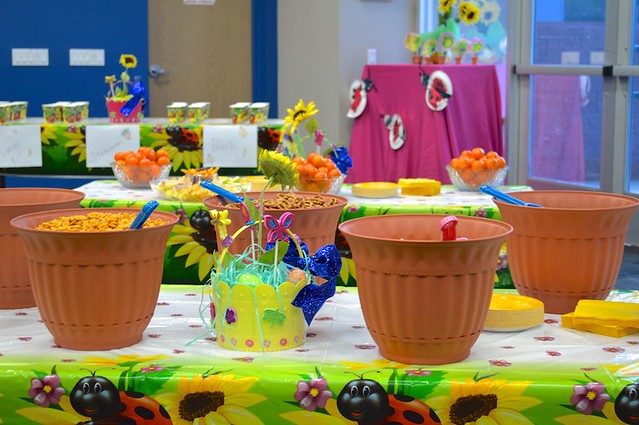
In a Flower Pot

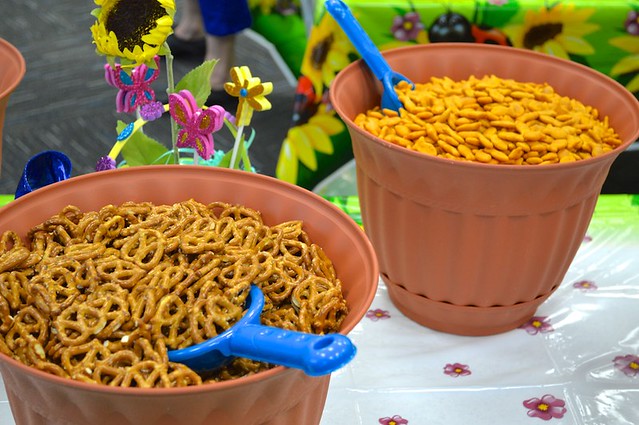
For a little spring flair pick up some plastic pots at your local gardening center. Choose your size based on the number of people in attendance. In our case that meant one of the larger varieties. For cute garden-themed scoops check out the toy section for plastic shovels. These were on sale in the dollar section and were the perfect size for little hands.

To prep the pots wash well in hot, soapy water. After they're dry line with cling wrap. For smaller ingredients like the raisins or chocolate chips use some filler (in this case, leftover plastic bags) underneath the cling wrap to prop up the pieces without having to purchase unnecessary extras. Seven bags of chocolate chips was plenty, but without the filler the chips would have only filled up a quarter of the pot.

On the Table

Arrange on the table and enjoy! We served ours with some small paper favor bags for the kids to scoop into, but some small baskets or tins would be adorable too.

Proudly designed by Mlekoshi playground